How to Create a Home Studio for Newborn Photography on a Budget
Mar 31, 2025
When I first started my newborn photography business, my studio was in my own home. I know how overwhelming it can feel to set up a space without spending a fortune, but I want to encourage you and share the tested strategies that worked for me. You don’t need a high-end professional studio to create stunning images—just a smart approach and some creativity. Let me guide you through building an efficient, budget-friendly home studio that will set you up for success.

Choose the Right Space
The first step is finding a dedicated area in your home that can function as your studio. Ideally, it should have:
-
Good natural light – A room with large windows facing north or south is best for soft, diffused light.
-
Enough space for setups – Even a small 8x8 ft space can work if organized efficiently.
-
Minimal distractions – A neutral-colored room with plain walls helps keep the focus on the baby.
2. Use Natural Light to Your Advantage
Instead of investing in expensive studio lighting, I maximized natural light when I started, and you can do the same. Here’s how:
-
Position your setup near a window and use sheer curtains to soften harsh sunlight.
-
Reflect light with a white foam board or reflector to fill in shadows.
-
Shoot during the best hours—usually morning or late afternoon—for soft lighting.
3. Affordable Backdrops and Flooring
Professional backdrops can be costly, but I found these budget-friendly alternatives useful:
-
Fabric and blankets – Soft, neutral-colored fabrics work great as backdrops and can be draped over a couch or stand.
-
Vinyl backdrops – These are affordable, easy to clean, and mimic different textures like wood or fabric.
-
DIY flooring – Use faux wood panels or large pieces of neutral fabric for a seamless look.
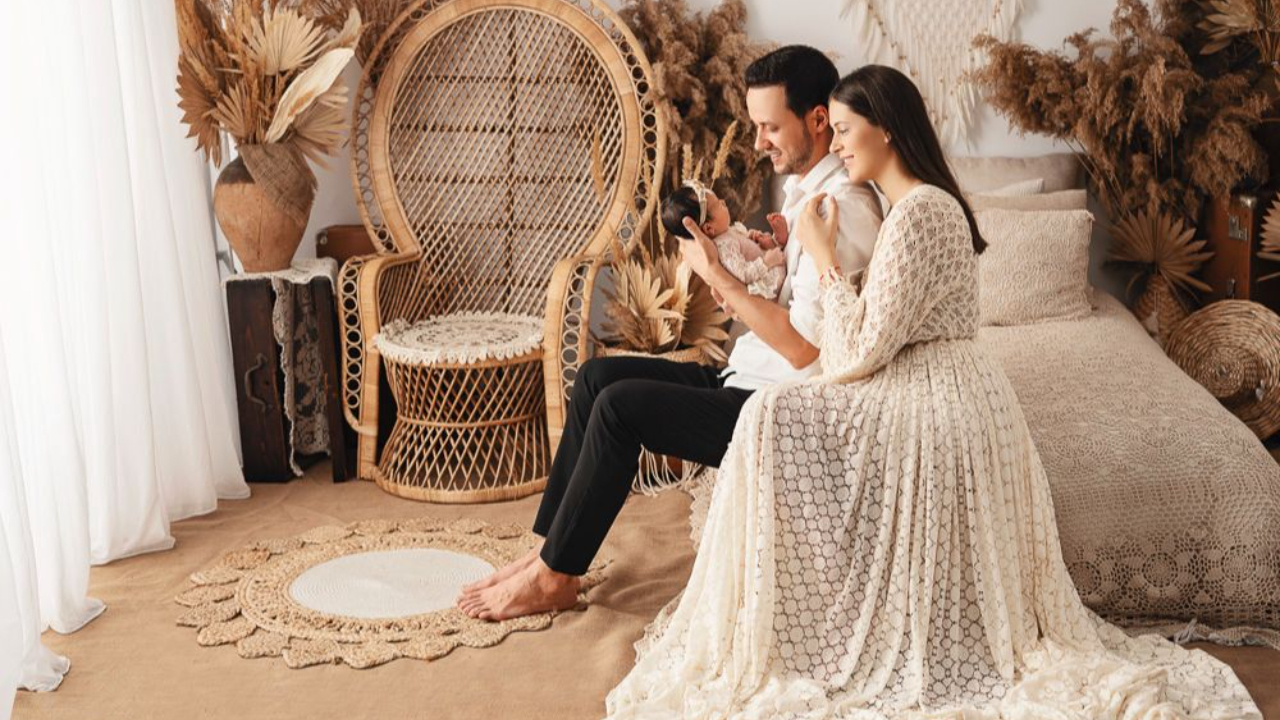
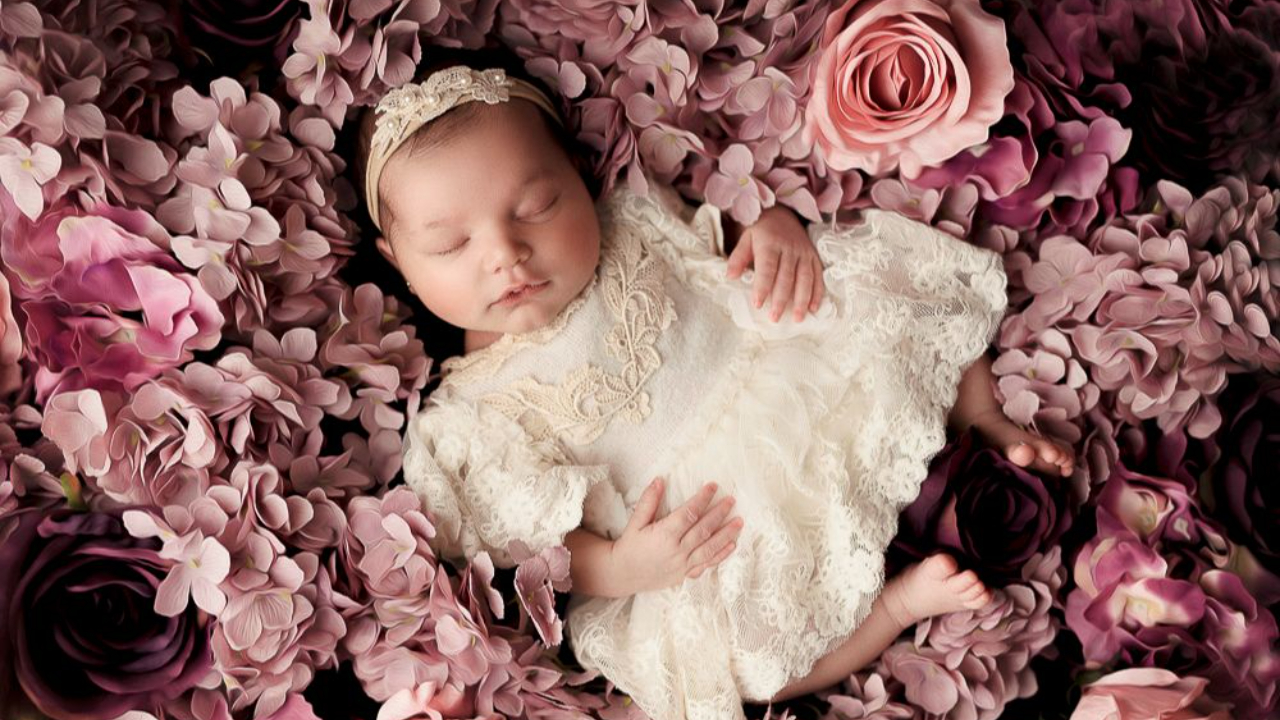
4. Essential Budget-Friendly Props
![]()
When I started, I didn’t have an endless supply of props, so I got creative with affordable options:
-
Baskets and bowls – You can find these at home decor or thrift stores.
-
Soft wraps and blankets – Purchase neutral wraps from craft stores instead of photography suppliers.
-
Beanbag for posing – A simple beanbag or even a firm pillow can serve as a posing surface.
-
Handmade headbands and hats – Etsy and local artisans offer budget-friendly newborn accessories.
5. Camera and Lens Selection
You don’t need top-tier gear to take professional photos. When I began, I focused on:
-
A DSLR or mirrorless camera
-
A prime lens – A 50mm f/1.8 or 35mm f/1.8 lens is affordable and provides beautiful depth of field.
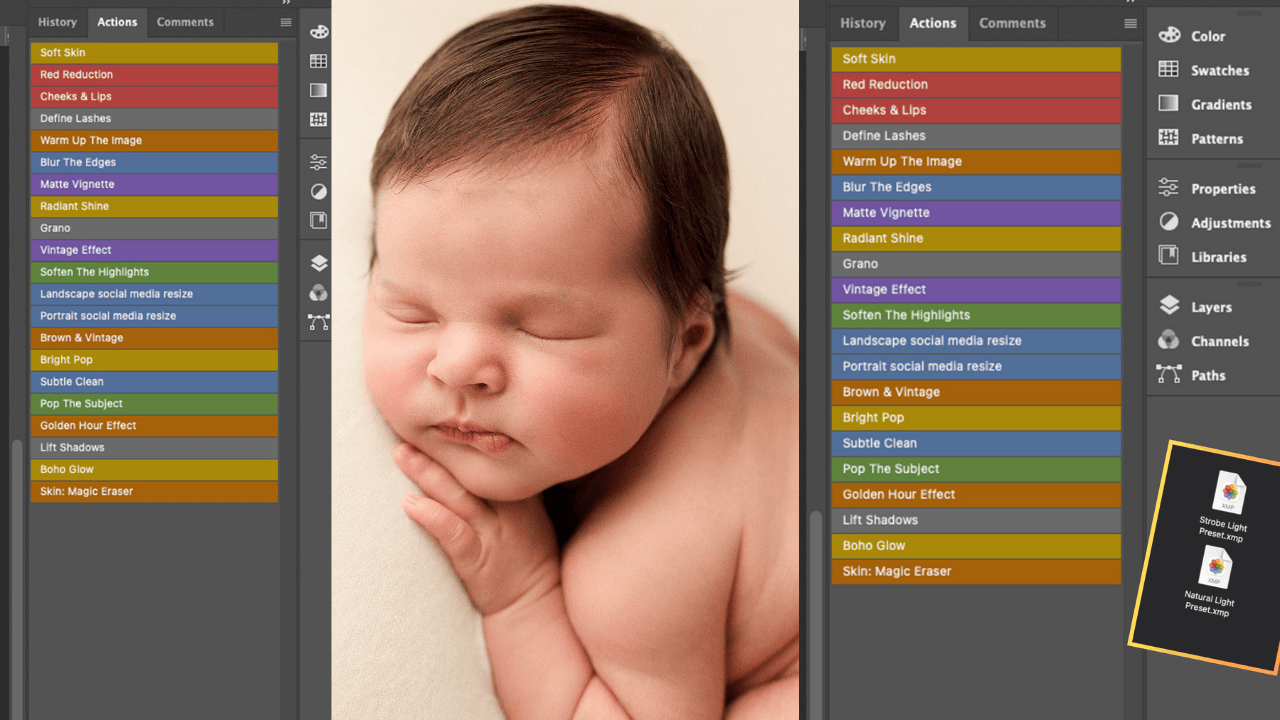
6. Editing on a Budget
Editing is essential in newborn photography, but I didn’t start with expensive software. Here are some cost-effective options:
-
Adobe Lightroom & Photoshop – Subscription-based but affordable for professional editing.
7. Keeping the Baby Safe and Comfortable

Newborn safety should always be a priority, and here’s what worked for me:
-
Maintain a warm environment – Use a small heater to keep the room at a comfortable temperature.
-
Use safe posing techniques – Never force a baby into a pose; always support the head and neck.
-
Have an assistant if possible – A parent or helper can ensure the baby stays secure.
8. Marketing Your Home Studio
Once your home studio is ready, start promoting your services the way I did:
-
Use social media – Showcase your work on Instagram, Facebook, and Pinterest.
-
Create a simple website – Platforms like Wix or Squarespace offer budget-friendly options.
-
Offer model calls – Build your portfolio by offering discounted or free sessions in exchange for marketing images.
Conclusion
Building a home studio for newborn photography doesn’t require a massive budget—just creativity and smart investments. I started my business from home, and if I did it, so can you. By using natural light, affordable props, and efficient marketing strategies, you can create professional-quality images from the comfort of your home.
If you’re serious about growing your newborn photography business, check out my online courses, where I teach everything from studio setup to advanced editing techniques! I want to help you succeed with tested advice that worked for me.
Start Your Path to Photography Success